How to start a bullet journal
A GUIDE: How to start a bullet journal
I have always loved journaling. I still have my earliest journals from 1993! I love writing out my feelings to get them out of my head. Bullet Journals, aka Bujo, are a little different. A lot of the journals I’ve seen in my research have been beautiful layouts and organized pages. It can be very intimidating. I wanted to know why and how to use the Buju style and decided to research and test it out. This as a quick guide to help you start yours.
The person that started Bullet Journaling, Ryder Carroll, explains this style of journaling:
Though it does require a notebook, Bullet Journal® is actually a methodology. It’s best described as a mindfulness practice disguised as a productivity system. It’s designed to help you organize your what while you remain aware of your why. The goal of the Bullet Journal is to help its practitioners (bullet journalists) live intentional lives, ones that are productive and meaningful.
There are a few other brands that have dotted pages where you can implement the bullet journal methodology, including CreateBeing! Found mostly online, you can see that the journals are used as trackers, calendar/agenda, mind dumping or brainstorming ideas and lists. This typically has included gratitude, bullet events of the day and lists.
When starting a page of dots, it can be overwhelming as one may not know how to begin or what to illustrate, I know I was! Don’t fret, you will find your style. Don’t compare your pages with other’s on Youtube or Pinterest, who have practiced creating illustrated pages to share. This guide is to help you start with the basics and from there you will find your groove.
The Basics
The dots are there as guides not rules. You may even use graph pages – again, they are guides for your content. Whatever you prefer. The most important is to have fun, be creative, have the courage to try something new and be self-compassionate, especially if it doesn’t go your way. You will find your own style.
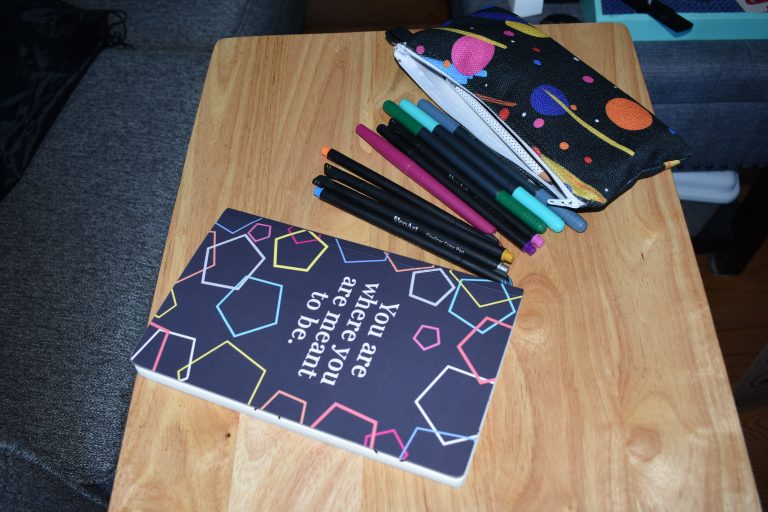
Supplies:
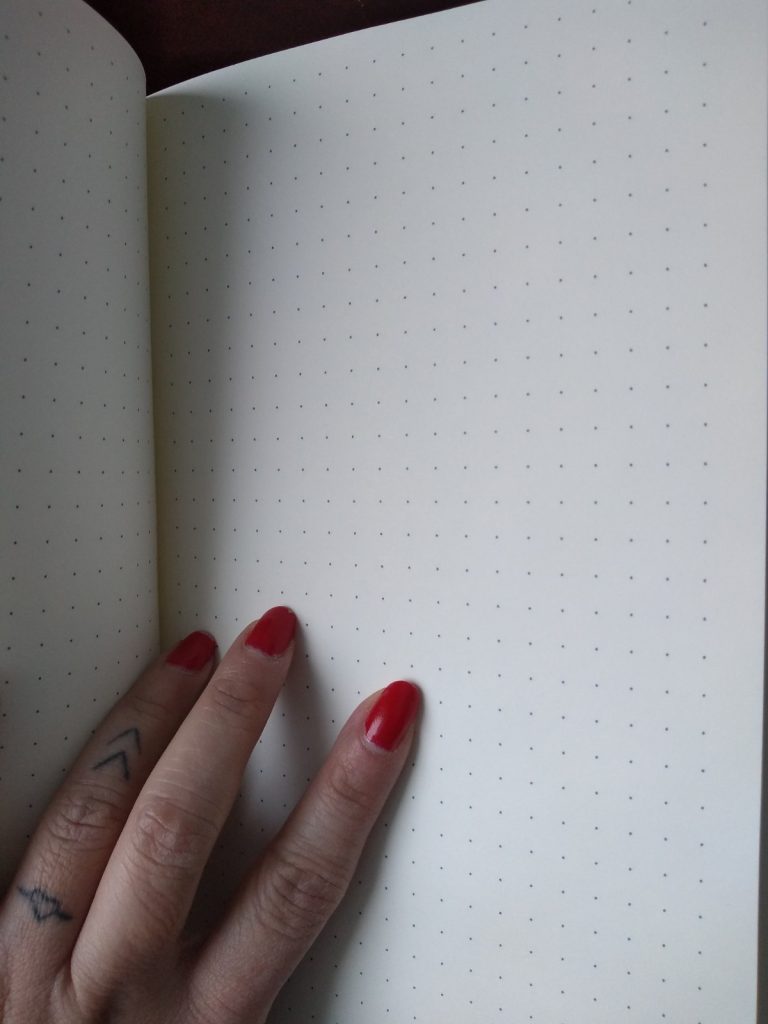
- Notebook with dotted pages (or graph or blank notebook)
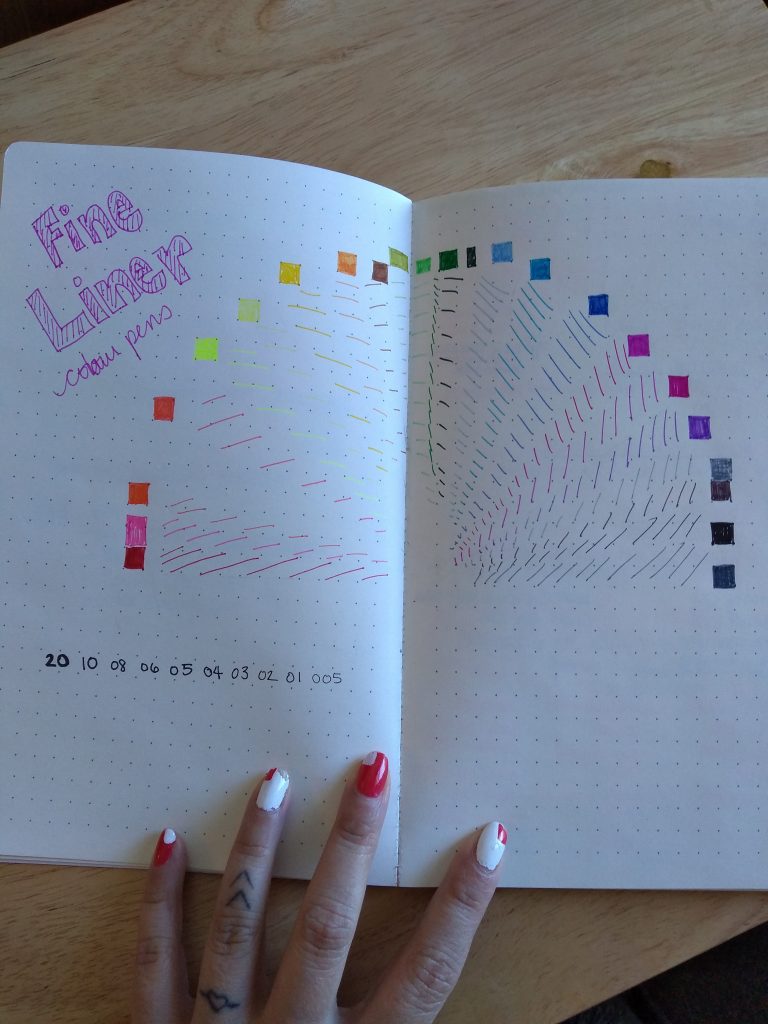
- Fine tip, non bleeding, pen (Colour pens are optional)
- Ruler
- Pencil and eraser
Step 1. Create an Index
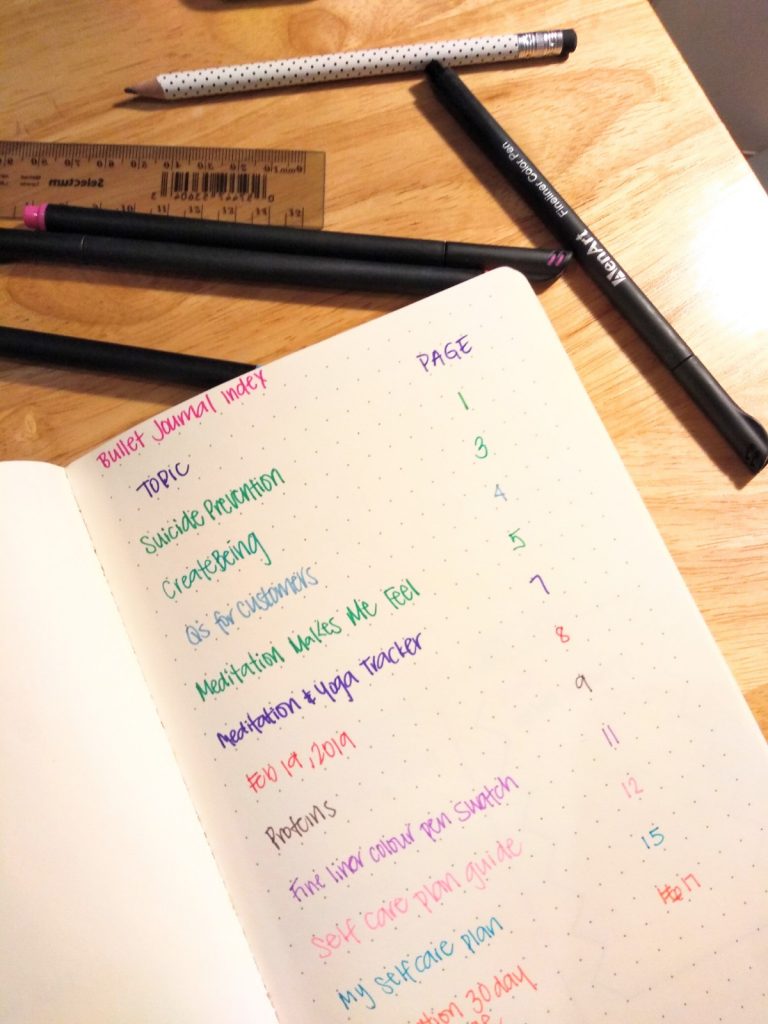
This will help you find what you are looking for.
Step 1: Reserve the first page or two.
These pages are reserved for your table of contents. This will help you find your section and page.
Step 2: Number your pages.
Start after the index page(s) and begin numbering the pages. Put the page number where it is easiest for you to reference (top corner, bottom corner, center, both pages or only odds or even pages.)
Ongoing next move:
When you start a new topic, add the section or title and the page number to the index page(s).
HOT TIP:
Some people like to count the bullets on a page (rows and columns) so that they can plan out their layouts. So that they don’t forget the number, they log this on the corner of their index or inside cover of their notebook.
e.g. There are 39 Bullets from top to bottom and 28 Bullets from left to right, for the Large Notebook.
There are 32 Bullets from top to bottom and 20 Bullets from left to right, for the Small Notebook.

Step 2. Plan it out
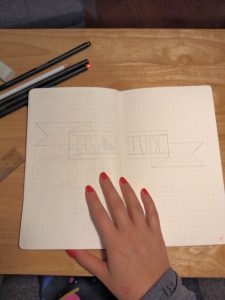
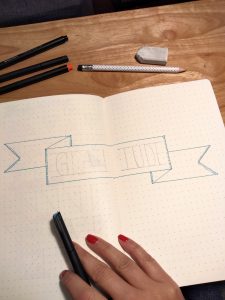
When you decide what you want to do on your page, go for it! Use your pencil, ruler and eraser to plan out your page. This is a good way to visualize what you want and erasing it if you don’t like it. It isn’t permanent!
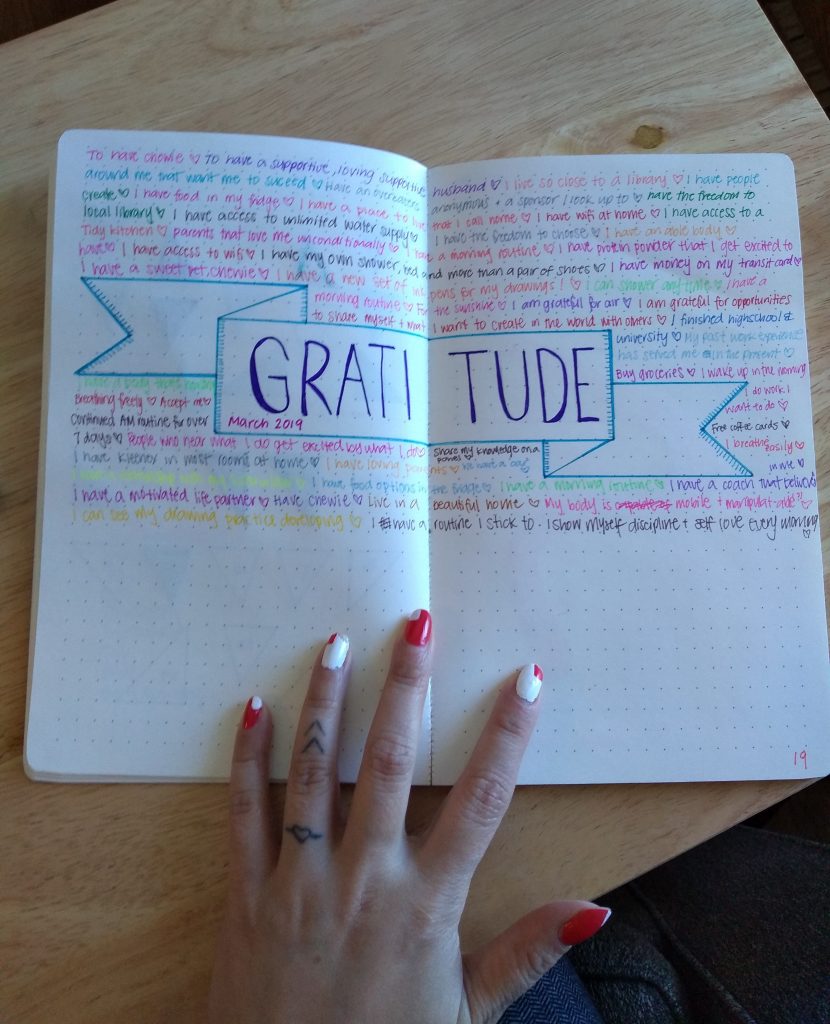
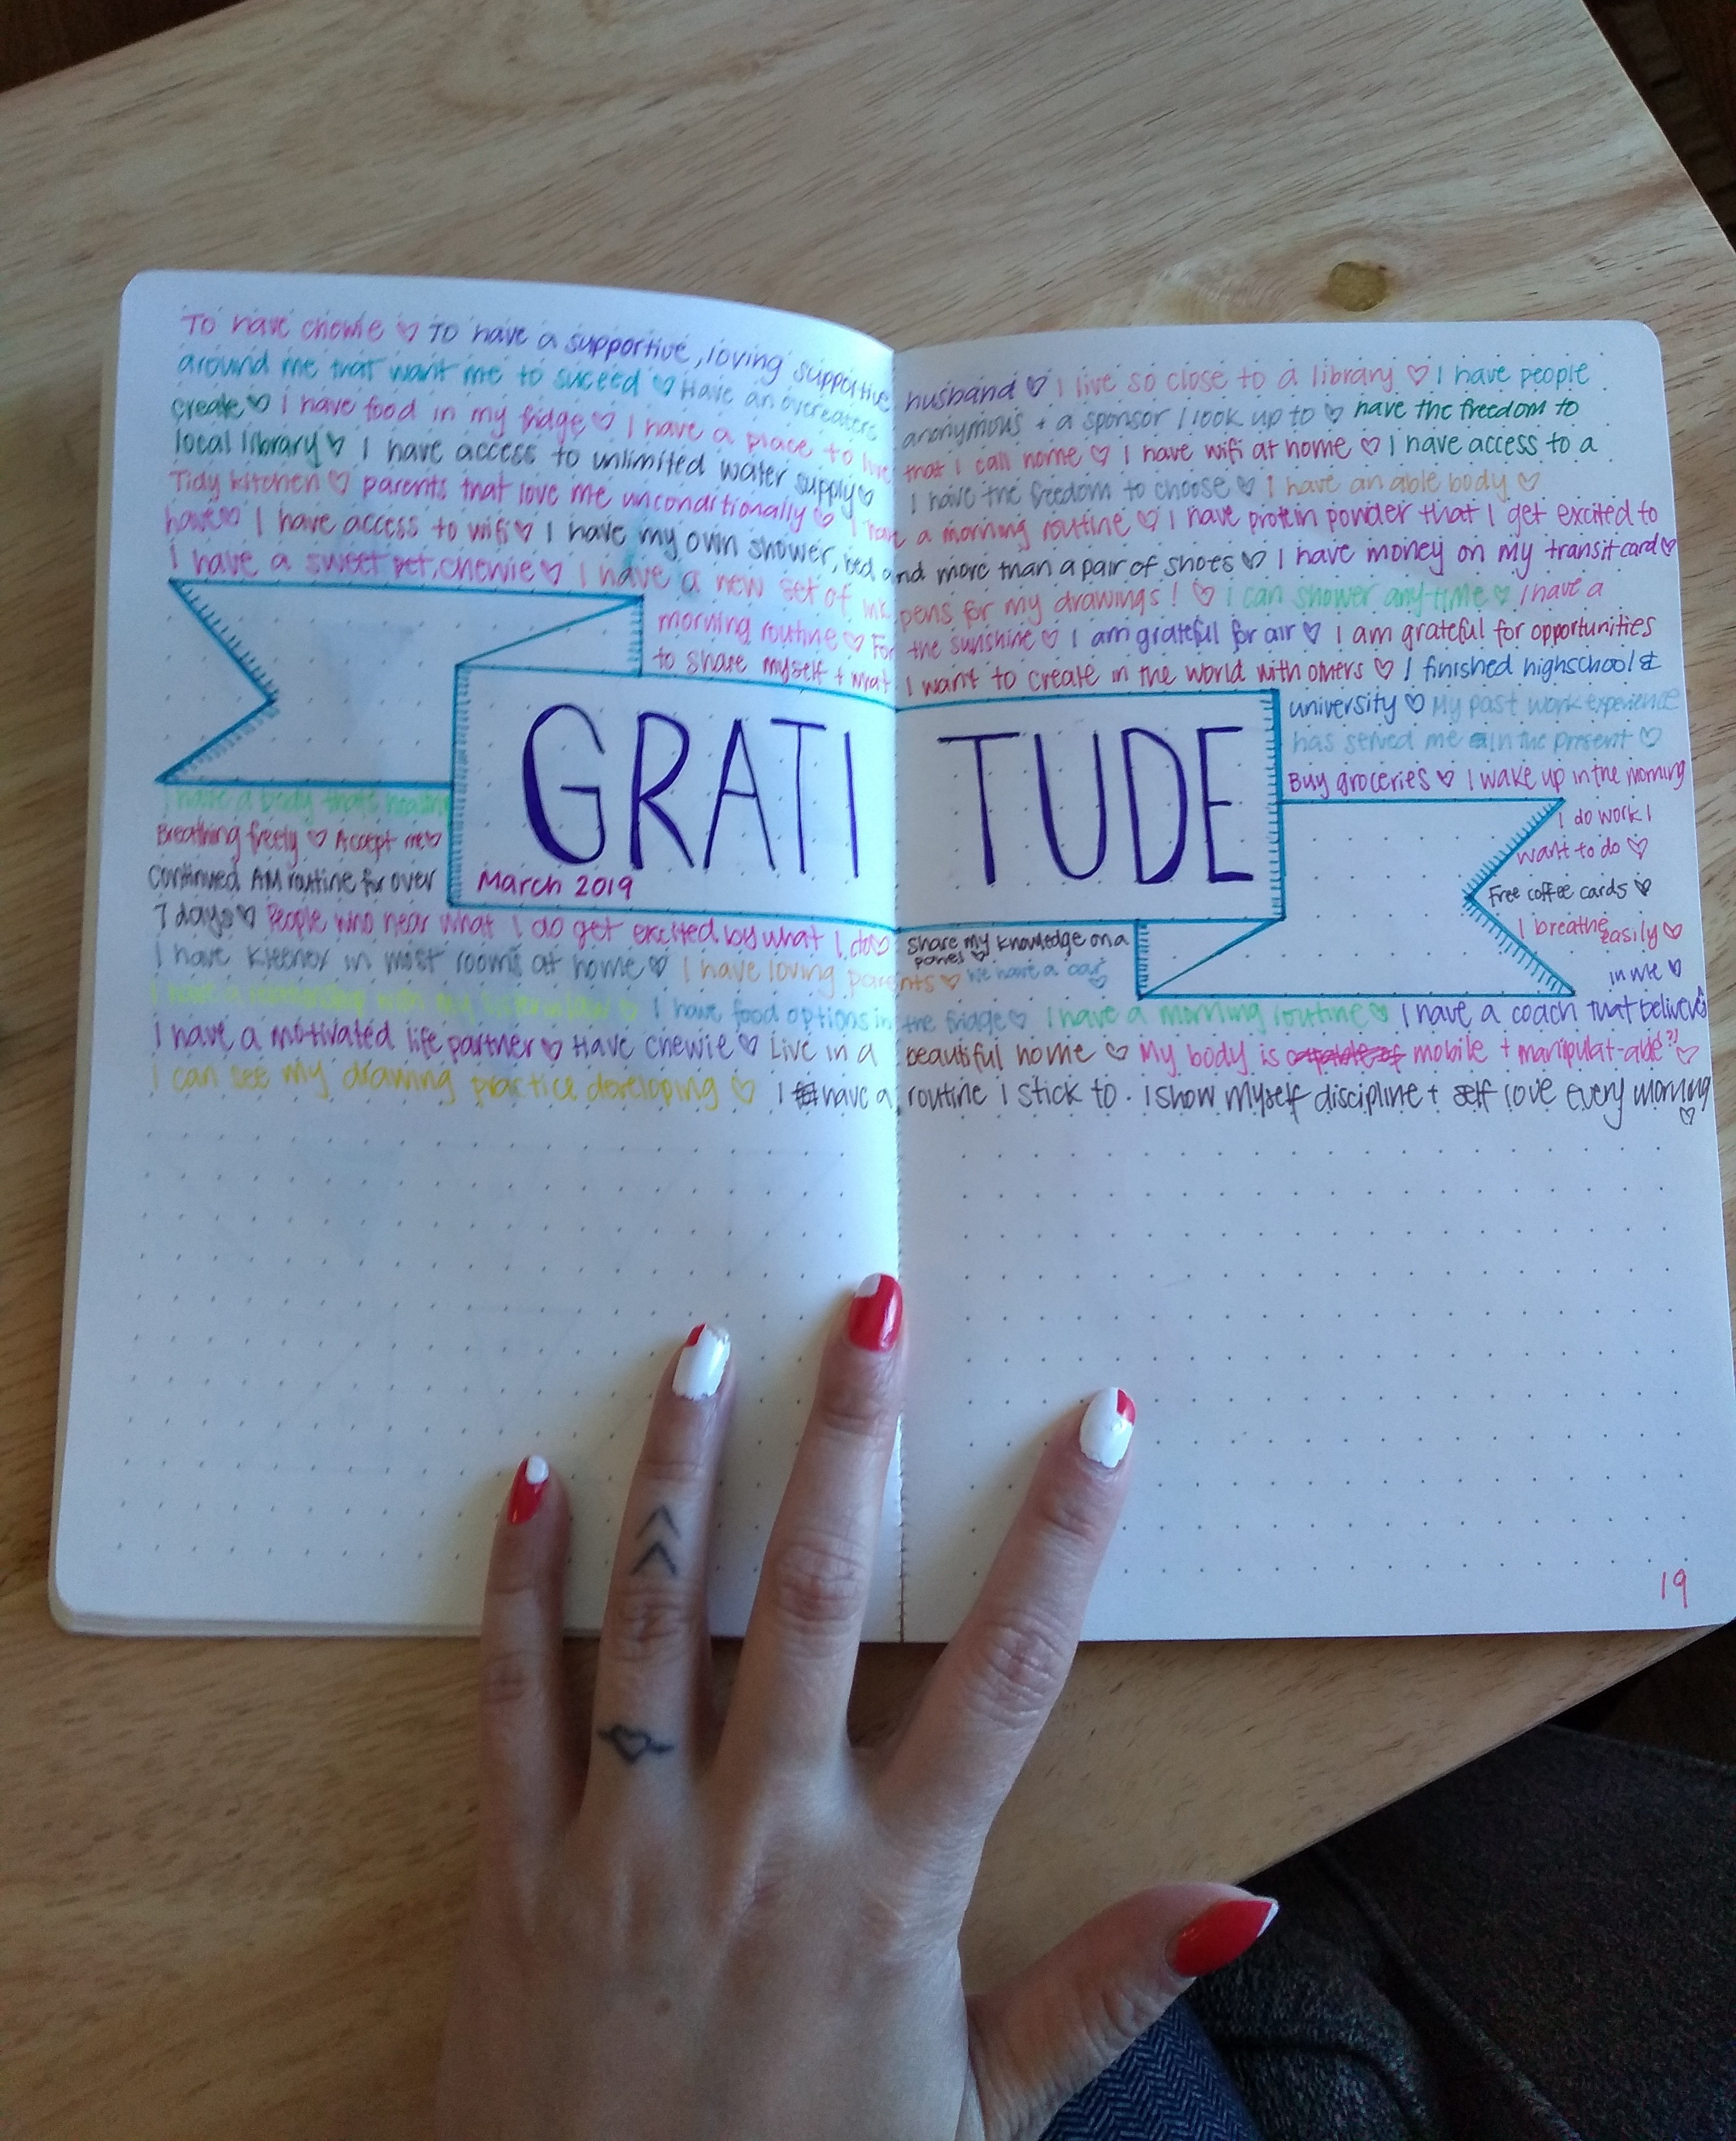
Here is how I began my Gratitude page
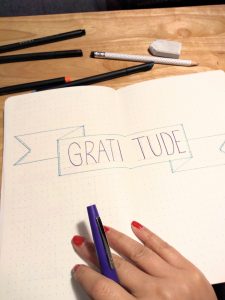
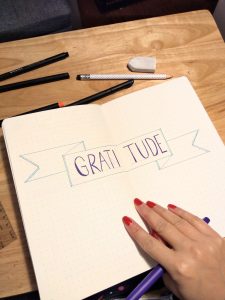
Trials Are Important
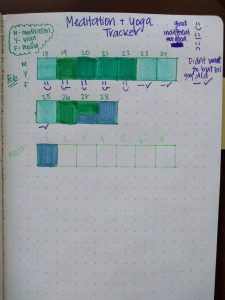
For my meditation tracker, I started with a simple layout and created boxes for ten days. I didn’t finish the tracker because I couldn’t keep up with creating the layout while tracking. Here is what I learned.
1. Trials are important.
2. I need to draw out all the days I wanted to track. I realized I didn’t want to draw it out as I was going along. This didn’t help my process. I wanted to track, not create, the system. So I stopped my habit as much as I stopped tracking.
3. It wasn’t engaging enough for me. It was not exciting to fill out. It wasn’t fun to complete and that was enough to restart the process.
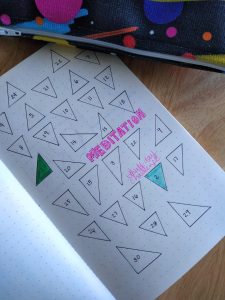
I realized I want my layouts to be inspiring so that when I open it each time, I am excited to track my habit. Habits can be challenging to create, I wanted this to be fun!
To feel inspired again, I went to Pinterest and came up with a new and simple system. I did what I usually do, make geometric shapes. I started drawing triangles on the page. I didn’t even leave room for the title. I just wanted to use the shapes to track my 30 day meditation. When I started writing the numbers in the triangles, I realized I didn’t need to put them in order. It reminds me of the Countdown Calendars usually sold during Christmas where you open one a day and get a prize inside (usually chocolate). Typically those numbers are scattered.
I found this fun to find every morning after my meditation practice. Very playful and simple!
Step 3. Repeat/Next Steps
You now have the basics. You have your supplies, created an index and your first page. The next step is to create more layouts and keep the habit of using your journal.
What makes this style of journaling so intriguing is the creativity you can place onto the page. You get to design and decorate as you would like.
For me, it is important to make it simple and fun.
Be open to being inspired by others without comparison. You can get ideas from others but don’t feel the need to copy their layouts. Head to #bujo or #bulletjournal to see the wonderful ways others have shared their layouts. Youtube also has a great resource of how tos and what to do when you mess up 🙂
